Tools used for this tutorial[]
2) XNALaraMesh Addon for Blender
3) VRChat SDK
Blender Add-on Setup[]
- Open Blender and select File and then select:
- Select the "Add-ons" Tab on the top panel
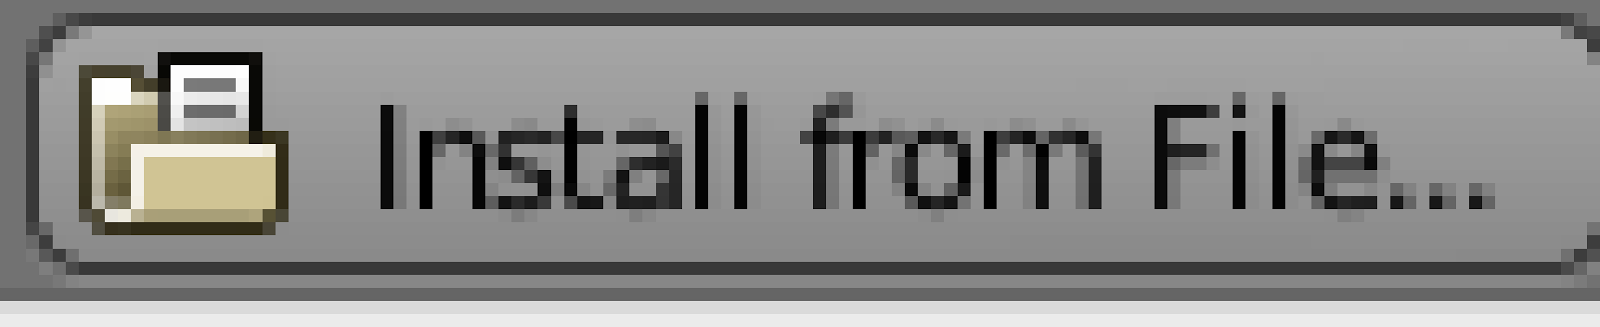
- Select “Install from File” and select the zip file downloaded above
- Type "XNA" in Blender’s search bar and you will see the addon you installed. It will be disabled so just check the box in the right side to enable it. You should see this as a result:
- On the bottom bar select "Save User Settings”, this is to make sure it stays enabled every time you start blender, if not you will have to enable it every time you start a new project.
- You can now close the window and begin importing the avatar model.


Converting file in Blender for Unity Use[]
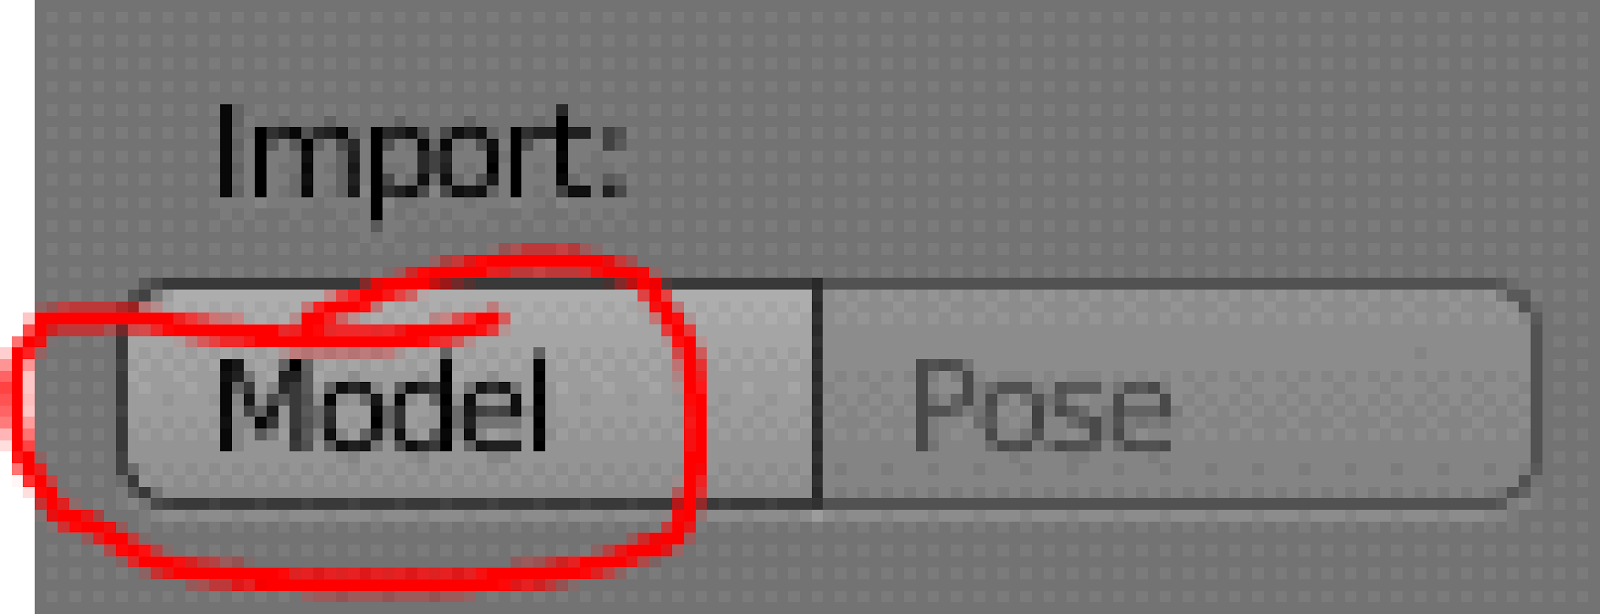
- In Blender, select the XPS tab on the left side. Select “Model” under “Import”:
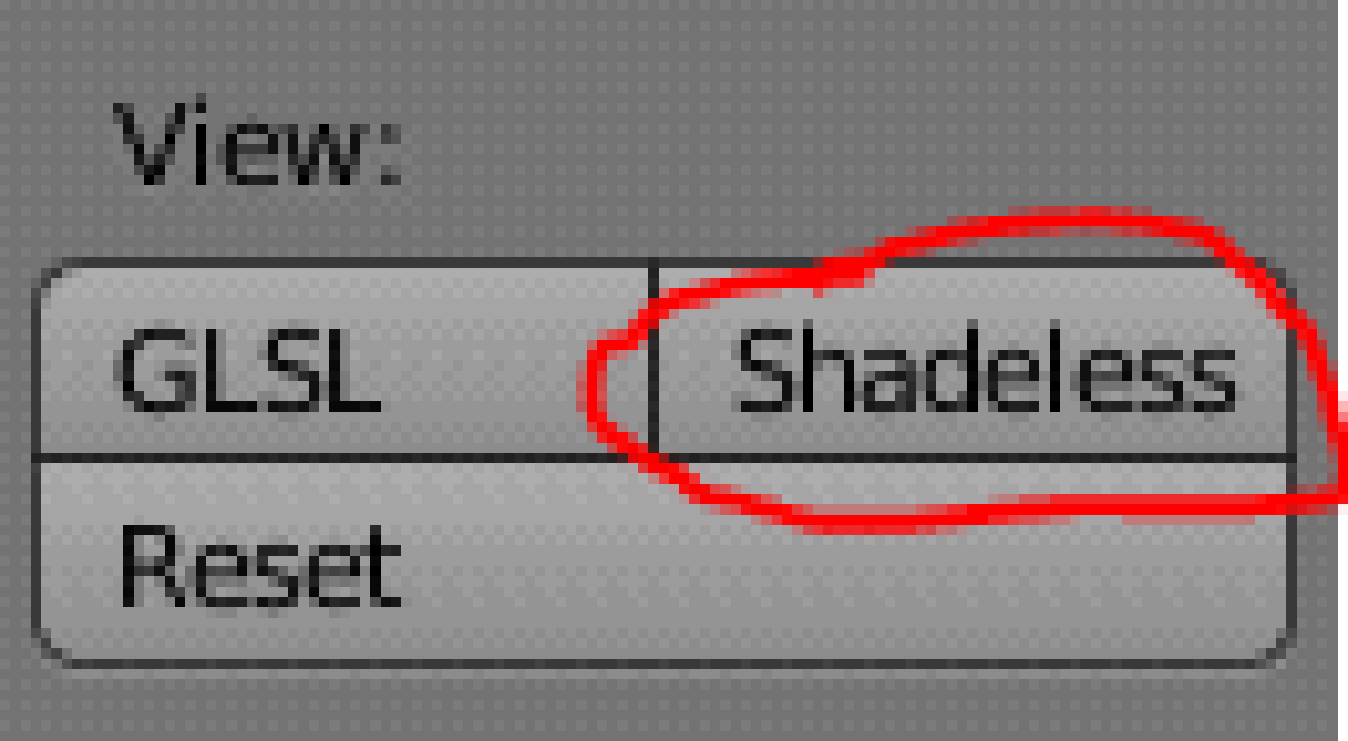
- Go to the extracted folder and select the avatar file. You will see your avatar without textures and all bones highlighted. In XPS Tools, select "Shadeless” under “View”. The left side shows you an approximate view of the final result with Unity 5. It is good to use this as a guide to adding textures once you import into unity.
- Press “File” and select “Export” then “FBX”.


Using Unity to make VRChat Avatar[]
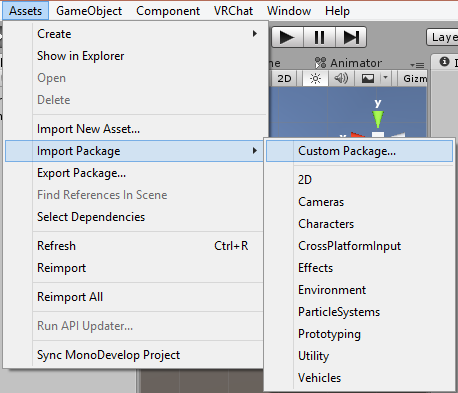
- First we want to add the VRChat Unity SDK. In the menubar select Assets > Import Package> Custom Package. Select the latest vrsdkchat file you downloaded
- Now go to the folder containing the unique textures in addition to the .FBX file, and drag all of these individual files to your Unity Assets panel except for the .MESH, .ASCII, .XPS files.
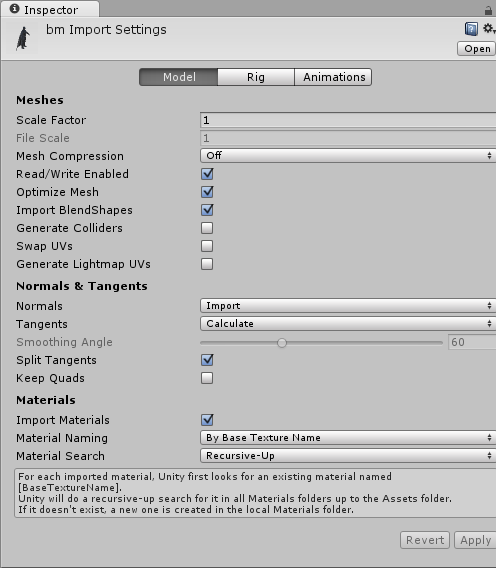
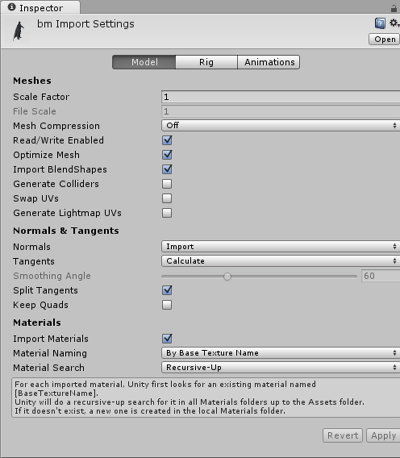
- From here select the .fbx file and in the "inspector" area on the right side make the scale factor "1" and Apply
- Select the "Rig" Tab and under "Animation Type" Select "Humanoid" and Apply
- Drag the Avatar file into the top left area under "Main Camera". This automatically positions your avatar in the preferred coordinates.
- You will want to check if the avatar's feet is on the ground sometimes it can be floating or under the ground so just mess with the position Y value to fix it.
- It is extremely important to make your model the same height as they are in the real/fictional world. There are many wikis online with the correct character dimensions whether its the iron giant or tinkerbell. If you are from the US convert Feet and inches to Meters and copy the measurement into the Y value of a cube. Then scale your model accordingly.
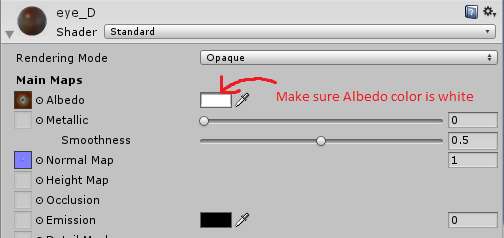
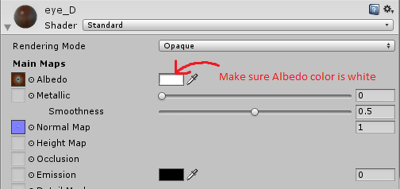
- On the left/top side under "main camera" expand the avatar file, those are diff objects that make up the avatar model's body so it is important to make sure they all have "Standard" Shaders and the Rendering Mode is "Opaque"
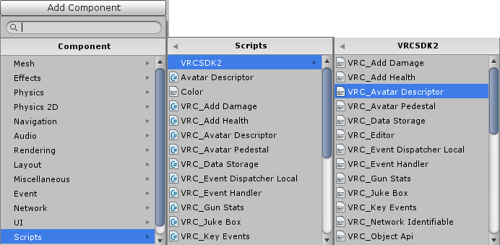
- Once the avatar looks like it should select, the avatar file on the left side to select the entire thing and on the right side select "add component"
- Select "Scripts > VRCSDK2 > VRC_Avatar Descriptor"
- Under name put the characters name or whatever you want
- "View Position" is where your vision will be once converted to VRChat so place this right in front of the avatar’s eyes. Changing the Y and Z by a little should be enough. Do not change the X value
- Change "Animations" to the gender of your avatar
- Select VRChat on the menu bar and select "Build Custom Avatar From Selection"
- Name your .VRCA file and you officially have your own VRChat avatar.


.png)
.png)
.png)
.png)
Made by Haczar